How to create a new GA4 account and property for web
Table of contents:
Learn to set up a new GA4 account for your website with ease. Our comprehensive guide provides essential tips for optimising your analytics experience.
First, you need to set up an Analytics account, unless you already have one. You can go to this link to create an account.
Here are the steps to create Google Analytics 4 (GA4) account:
Account Setup:
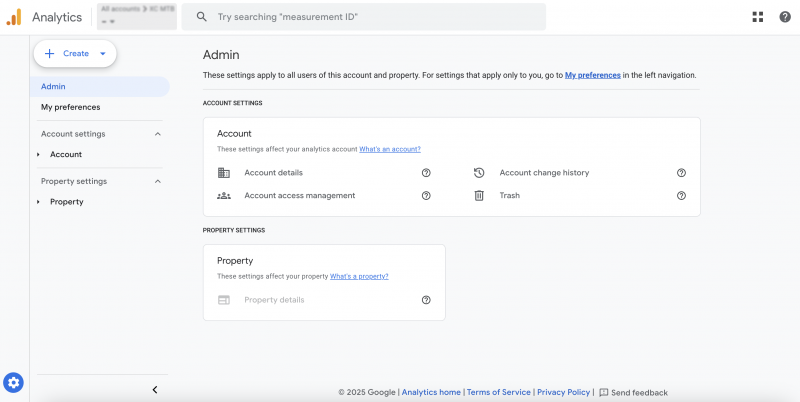
Once you have created you GA4 account, you will then see a “create” link. Here you have 2 options: “create an account” or “create a property”. Select “create account”.
Step 1: Account Details:
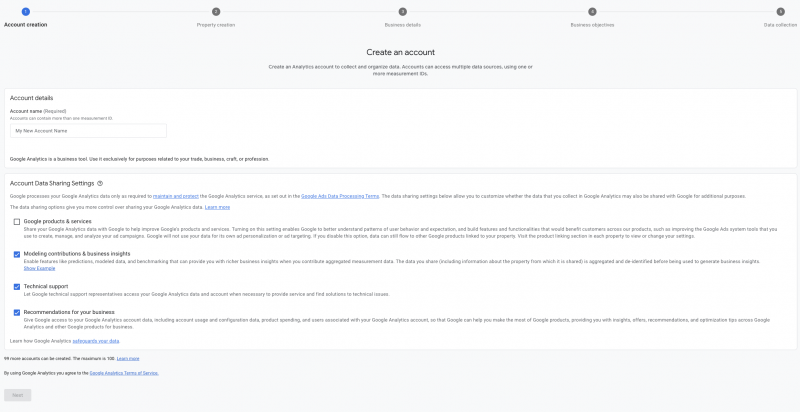
Give your account a name and select your desired data sharing settings. Your account name can be anything you want, but we generally use the domain name. Once you have done that, you can then click “next”.
Step 2: Property Creation:
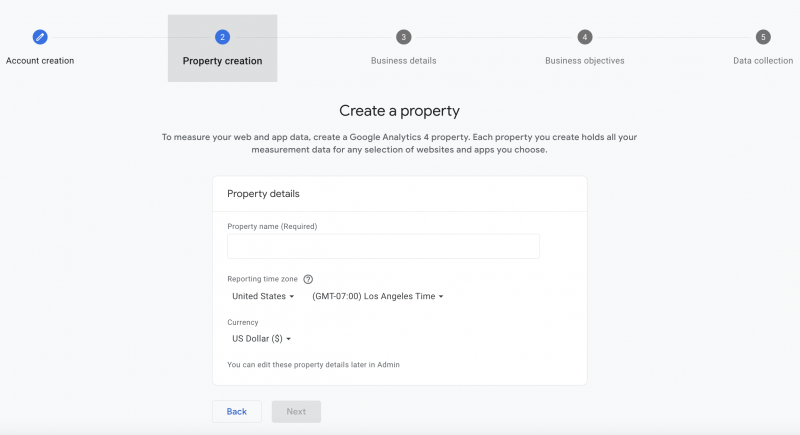
In the property creation screen, enter your desired property name. Again, for simplicity we generally type in the domain name again. You then select your reporting time zone and select your desired currency. The currency setting is generally for GA4 accounts that are ecommerce related. Once you have done this, then click “next”.
Step 3: Business Details:
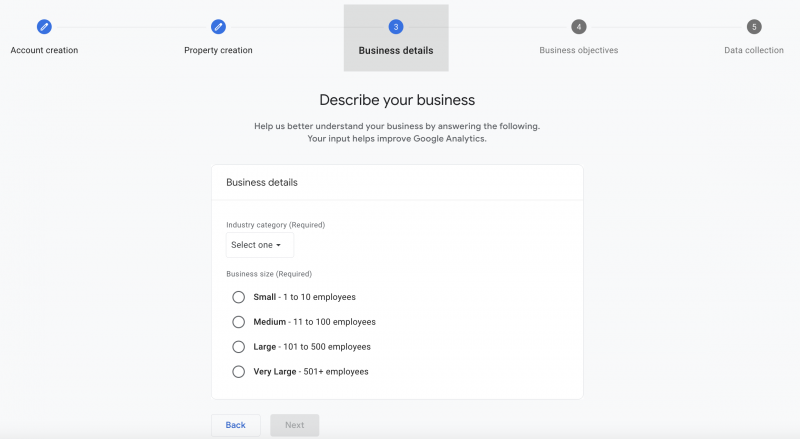
In the business details step, simply choose you industry category and business size. If your unsure of your business category you can simply choose “other business category”.
Step 4: Business Objectives:
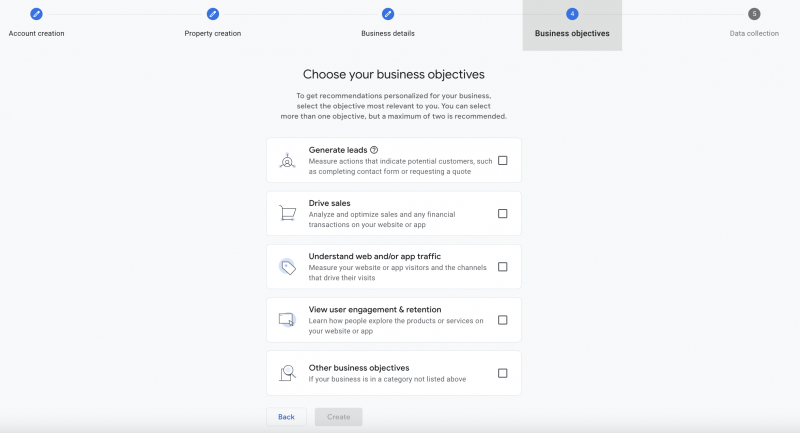
In step 4 you select your business objectives. There are 5 options:
- Generate leads
- Drive sales
- Understand web and/or app traffic
- View user engagement or retention
- Other business objectives
Depending on which option you select, GA4 will then give you access to default reports once the account is set up. So this stage is quite important, although you can select which reports you want after the account setup if required.
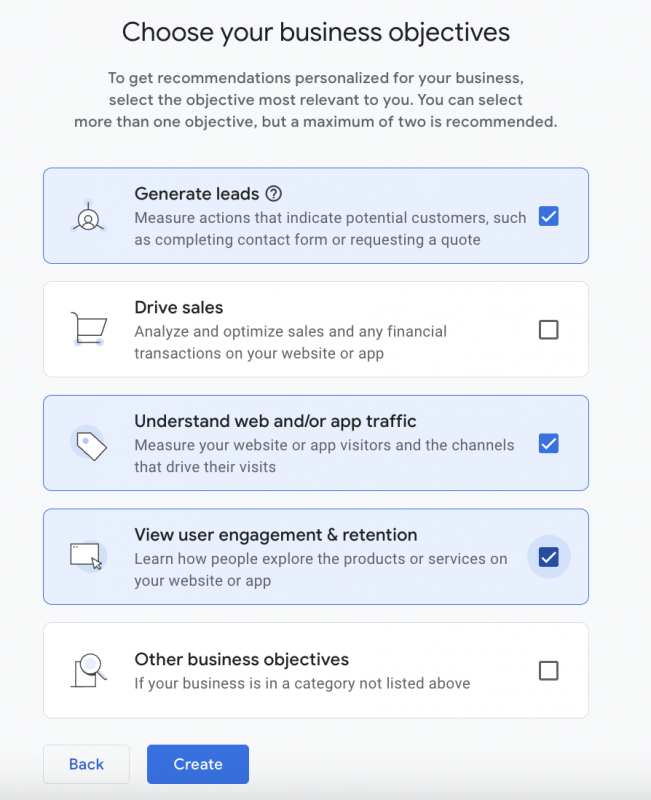
As an example of the business objectives setup, when cresting an account for our own website, we selected generate leads, understand web traffic and view engagement & retention. If GA4U was an ecommerce site, then we would have also selected the “drive sales” objective:
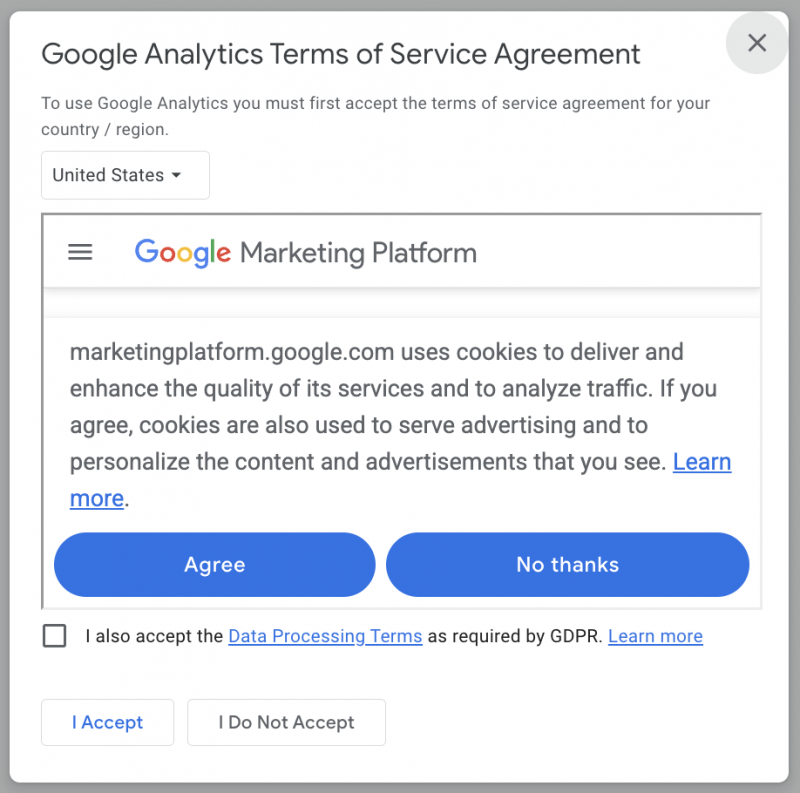
Once you have selected your business objectives you then have to agree to the Google terms of service:
Step 5 : Data Collection:
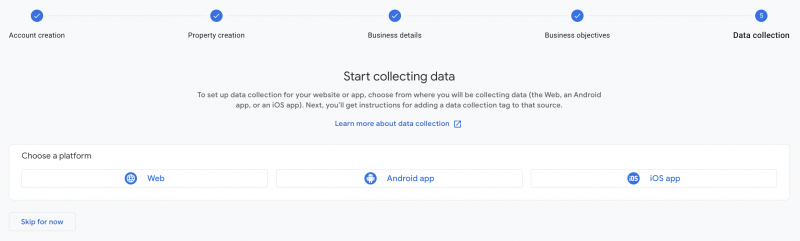
The next part of the process is setting up the data collection settings. You need to choose from web, android app or ios app. This tutorial focuses on setting up a GA4 account for websites, so in this case choose “web”.
Data Stream
Once you have selected “web” you then need to setup the data stream by entering your website url and assigning the stream a name.
In Google Analytics 4 (GA4), a data stream represents a flow of data from a single source (like a website or app) into your GA4 property. Think of it as a pipeline that funnels data from a specific platform into your analytics.
When finished, select “create and continue”.
Google Tag Setup:
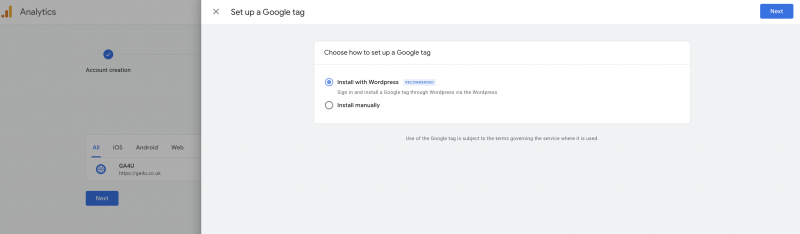
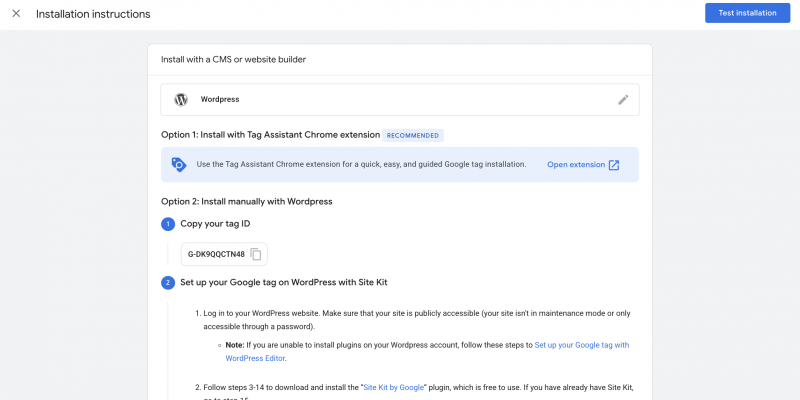
Next you have to set up the Google Tag. Google might detect your website cms and suggest ways to set up the tag. For example, it might say “install with wordpress”. You can then click next. If you chose the option of installing via your cms it will then give you setup instructions via Tag Assistant or a plugin such as Site Kit. This option is best if you are less technical:
If you are more technical then your probably likely to select the “install manually” option.
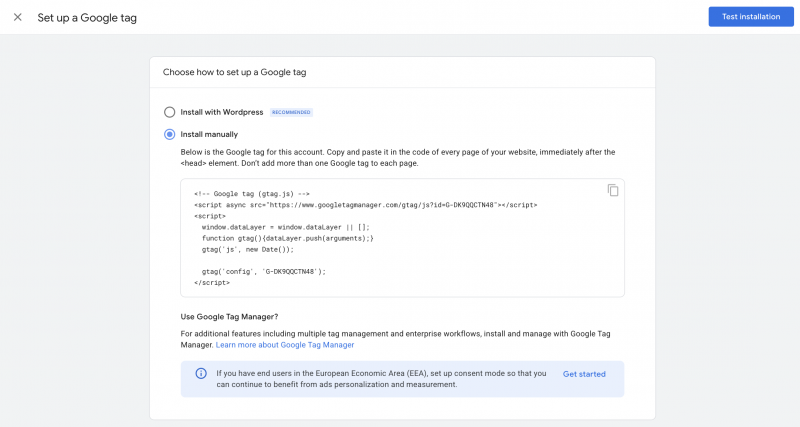
If you choose the manual option then Google gives you the javascript code needed to go in the <head> tag section of your website. Once you’ve added this code you can then test the installation.
![]()
And thats it! You can confirm your installation and your account is now all setup complete.
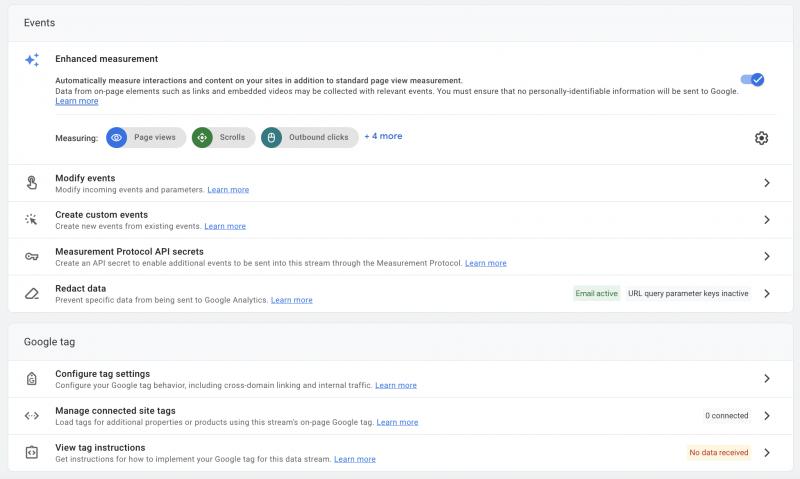
Following this setup you are then presented with option to further configure your web stream, which we will cover is another blog post. If your struggling with GA4 configuration then get in touch.
Conclusion: Create New GA4 Account & Properties
Setting up your Google Analytics 4 (GA4) account and properties is the first step to making the most of your data.
By following the simple steps outlined above, you can start collecting and analysing data effectively, helping you understand your audience better and improve your website’s performance.